How to Hike in the Mountains and Woods without getting Lost or Dying
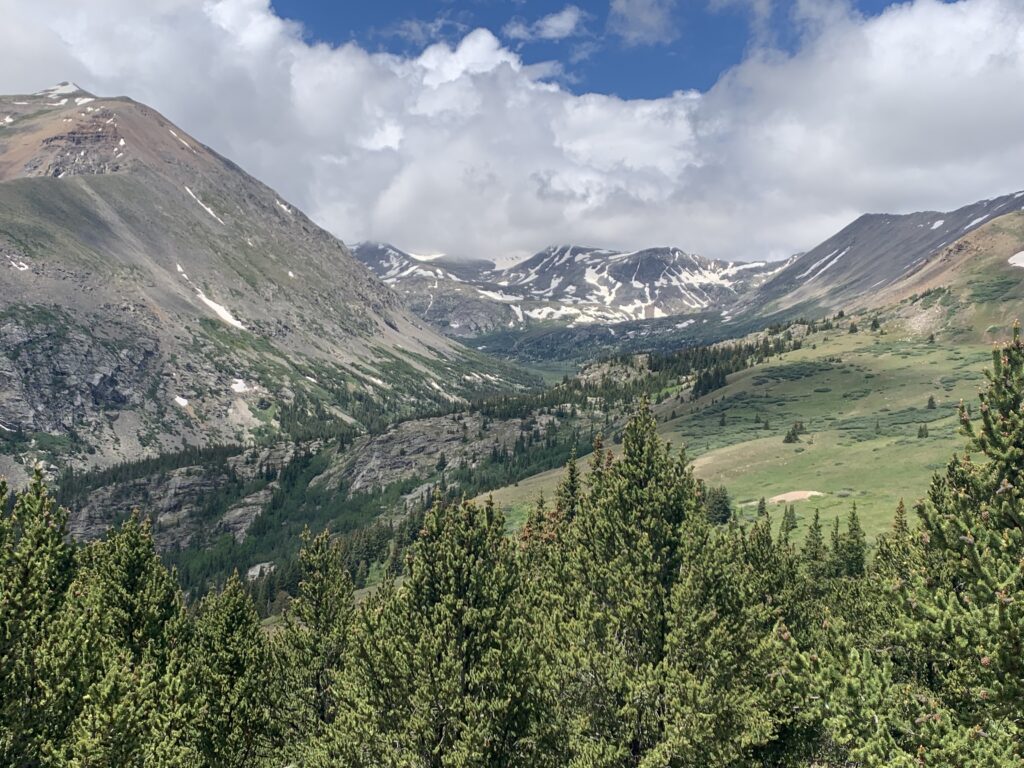
Getting outside and being in nature is one of the best ways to stay mentally and physically healthy, but wilderness hiking comes with challenges and potential danger. The benefits and rewards of hiking and being on the trails far outweigh the risks; however, we still have to mitigate those risks and dangers as best we can.
Why is planning and preparing so important when hiking?
Planning and preparation keep us safe and help us have a fun, positive experience. So we can go back and hike again and again. If our experience was horrible, we may not want to do it again. Even worse, if we have someone new to hiking with us and things don’t go well, that could turn them off from hiking in the future.
Of course, this isn’t about being perfect; it’s about preparing as much as possible to create the experience you desire. Preparation helps us have fewer issues, and that’s the goal: fewer issues, not perfection. And to get home or back to base camp safely. The goal is to stay alive and have fun in the process.
Have a Blast, So You Want to Hike Again
How likely are you to return to a restaurant where you had an awful experience? You may give them another chance, or you may decide there are plenty of other places to eat. That’s the idea here.
If you’re completely new to hiking, it’s always a good idea to start small. Don’t plan to hike 10 miles on your first trip or spend 5 hours out. Plan a 3-mile or 1-hour-long hike. Starting small makes sense for several reasons. We want to build fitness and endurance, improve our navigation skills, and learn how much food and water we need.
Starting small gives us a chance to make adjustments, learn, and prepare for a longer hike down the road. Easing into this hobby is the best approach.
I could go hike the entire Pacific Crest Trail or the Appalachian Trail without ever setting foot on it beforehand, but I wouldn’t. It could be done, and I’m sure people have, but that’s not how I would approach such a huge task.
I would hike at least two or three sections of the trail on different occasions first. I would do at least two or three week-long hikes using the same gear that I plan to use on my full attempt.
A great example is how rock climber Alex Honnold climbs. Rock climbing is completely different from hiking, but Honnold’s approach works for many sports and adventures.
When Honnold prepared for his free climb of El Capitan, he did everything the same way as he planned for his actual climb. Honnold wore the same clothes, he ate the same breakfast, and so on. He did this because he didn’t want surprises and wanted to minimize issues.
Have you ever bought new shoes and, on the first day you wore them, got a huge blister? That’s one issue Honnold was trying to prevent. Chafing can be painful, and every athlete would agree that preventing chafing is always preferred. Honnold didn’t want to get ¾ up El Capitan and deal with weird chafing while trying to focus and reach the top safely.
Experienced marathon runners and hikers know a marathon or long hiking trip isn’t the time to try new equipment. We test equipment on short trips to make sure it works the way we want it to.
Being prepared makes the experience better and often will make you want to hike again.
Every athlete, hiker, and adventurer has a different list of what’s important to them; here’s mine.
I’ll cover the most important steps for planning a successful hike, and I’d love to know what I left off that you think is important.
How to Plan a Hiking Trip without Getting Lost or Dying
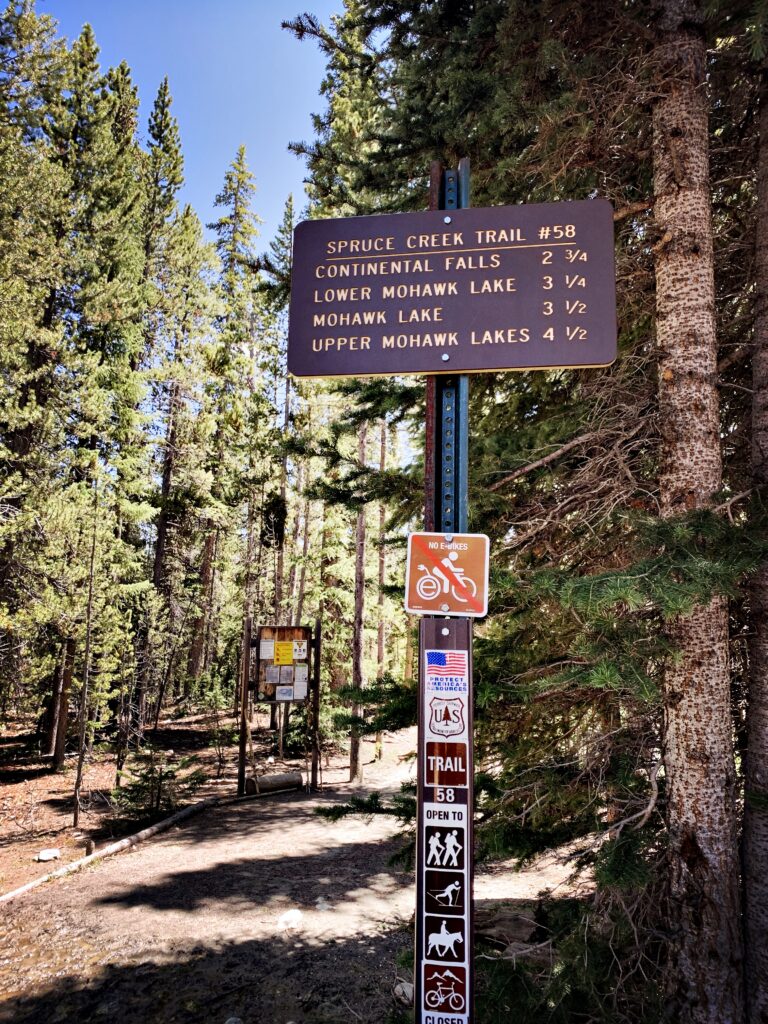
1. Select Trail and Parking Location
While this may sound like common sense, knowing this information before you start makes everything smoother. At least know your destination address and the route you’re taking. Check the route and weather again right before you head out. As a rule of thumb, when climbing in the mountains, aim to reach the top and start heading down before noon to avoid lightning.
2. Check Weather Conditions (now and before you leave for the trailhead)
If the trip is weeks or months away, it may not be possible to get detailed weather conditions; however, you can get a pretty good temperature range from past years and averages. I like doing this to get a sense of what to expect on the trip, even though I know I’ll need to check again a week out and before going to the trailhead.
There are many examples of serious bodily injury and death because people either didn’t check weather conditions, or they did and ignored them. I’m not here to Monday morning quarterback, per se; however, I have a major issue with these two examples I’m going to share.
I’m sure there’s information I don’t know about these two examples, but from what I understand, both tragedies could have been prevented. Avoid tragedies like these by checking the weather, being smart, and going with your gut if you have a bad feeling. Our gut is often right, and I usually err on the side of caution, although trust me, I know that’s easier said than done.
You’ve planned a trip for weeks, months, or maybe even years; you don’t want to stay in the cabin, you want to ski. You don’t want to stay at home; you want to be outside and in nature. I get it; it’s super hard to decide not to take a trip or to deviate from it, but sometimes it’s necessary to stay alive.
Example 1: Lake Tahoe Avalanche During Ski Trip
This event occurred on February 17, 2026. Weather warnings advised against skiing, and a group of fifteen decided to go anyway. I believe one person canceled her plans because she thought the weather might be dangerous. Everyone else decided to go.
The weather turned bad, and they could’ve stayed put or chosen a longer (but safer) route. The group continued with their original plans, and because of that decision, thirteen people were caught in the avalanche, and 9 people died.
Example 2: Flash Flood Tragedy at Zion National Park
This event occurred on Monday, September 14, 2015. At 2:22 pm, the National Weather Service issued a flash flood warning for the area, and alerts went out that the canyons were closed. Apparently, witnesses saw the group enter the canyon around 3:20 pm, about an hour after the 2:22 pm alerts.
I remember reading soon after this event that a park ranger warned the group against hiking that day, and they ignored the warning and went anyway. I’m not sure that’s true for this event, but I’m sure people have ignored professional warnings in the past that could have saved their lives.
7 hikers died because heavy rains flooded the caves. Once the flooding started, they had no chance. The only way to survive what they encountered was not to go that day.
Soon, I’ll add a link here about the day I slipped on ice while hiking Pikes Peak. I was very lucky I didn’t fall to my death. I learned a huge lesson that day, and it guides my decisions about taking risks and hiking.
In my opinion, checking the weather and trail conditions is the most important step. Also, be prepared for changing conditions and be open to changing your plans if it keeps you safe. Trust me, I know it’s hard. But we want to live another day and continue hiking for years to come.
3. Select Proper Gear and Clothing
Besides checking the weather, bring proper gear. Without proper gear, you’ll be uncomfortable at best; at worst, you freeze to death.
Carrying extra layers can be a pain, but it’s always better to have extra clothing you don’t need than to need it and not have it. Gear that protects you from the sun and winter gear in the cold, like hand warmers, are worth considering.
I could say a lot about clothing, and I’ll link a clothing blog here soon. For now, remember sun protection, layers in the cold, and removing clothes before you sweat (in the cold). When running or hiking at a brisk pace, usually it’s smart to start off feeling a little cold because you’ll warm up once you get going.
Lots of people start off too bundled up, then sweat twenty minutes into the hike. If you start bundled up and get hot, immediately start removing clothes before you sweat. This step is crucial in really cold weather, especially if you’re in the middle of nowhere.
4. Food and Water/Electrolytes
Like every item on this list, I could do several blogs just about food or just about electrolytes. I’ll keep it short for now and add a more detailed blog later. Having water and maybe electrolytes is most important.
When I was running a lot, I used handheld water bottles, but I’ve realized having my hands free is much better. On almost every walk or hike, I use either a fanny pack (think mountain biker fanny pack) with two water bottle holders on the side, or a running vest with two water bottle holders up front.
A collapsible water bottle can be pretty handy, too. They’re neat because empty, they barely take up any space.
If you’re a veteran runner or hiker, you know your body and what electrolytes you’ll likely need. If you’re new to hiking, do your reading and research to get a basic understanding. But like most things, finding the right amount and kind of electrolytes is a very personal endeavor.
As a female ultra-endurance athlete, I’ve typically needed three times the normal amount of electrolytes during most of my cycling and running events. Mix water, lemon, and salt for a homemade electrolyte drink.
Snacks can come in handy for fuel, depending on how long your hike is. I know people who run or hike for several hours in a row and barely eat anything; others eat every 45 minutes. Just like electrolytes, you’ll learn what works for you by trying different foods and paying attention to how you feel. Ultra running and cycling forced me to become really good at knowing what I needed to eat and when.
Dates, almond butter, beef sticks, bars, gels, fruit, and trail mix are some common hiking foods. I say try whatever you want; just avoid foods that melt in the heat, like chocolate.
If you’re looking for an all-in-one nutrition and electrolyte mix, Tailwind, made in Durango, CO, is awesome. Founded in 2012, I noticed many ultra runners and endurance athletes use Tailwind as their go-to. It’s easy to pack and go, so it’s perfect for races or FKT pushes.
5. Safety: Protection From Animals and Humans
The area you’re in will not only determine what gear you use, but also what animals you might encounter. For instance, hiking in grizzly territory is very different from hiking in Florida or Texas.
I’m a firm believer that most wild animals don’t want to be around humans and leave the area when they smell us. But it just takes one Google search to see how many animal encounters there are each year, so we have to be prepared just in case.
I don’t hike in grizzly territory without a 10mm handgun and bear spray. I don’t hike in areas where black bears and mountain lions are known to frequent without bear spray and a large knife. On all my hikes in Colorado, I carry bear spray and a large knife.
The knife could come in handy for self-defense, but it mostly gives me peace of mind. Just like when I’m armed with a handgun. Whether I’m in the city or in the woods, carrying a handgun certainly makes me feel more confident.
Hopefully, I’ll never need to use a handgun on an animal or human, but at least I’m prepared and ready just in case.
FYI: If you’re carrying bear spray, have it ready to go, not stuffed at the bottom of your pack. I carry mine in the right front pocket of a running vest in the place meant for a water bottle. I don’t have to take it out to use it, and I can deploy it in one or two seconds. I’ll try to remember to add a photo here.
6. First Aid Kit
It never hurts to carry a basic first aid kit with band aids, wound strips, gauze, medical tape, antibiotic ointment, and moleskin or blister pads. I typically carry self-adhesive bandage gauze and Advil in all my first aid kits as well.
If you can carry a few more items, QuickClot, paramedic shears, and a tourniquet are great.
7. Whistle and Mirror
These have been staples for survival kits for a very long time. A whistle’s high-pitched sound travels farther than a human voice and is a universal distress signal. A small mirror can signal a beam of light to search parties, and you can use it to remove debris from your eye.
Have you ever had sawdust or dirt in your eye? Well, you’ll only ever use a saw without eye protection once; not fun. And if I recall correctly, the only time I had to place a patch on my eye for several hours was as a young teenager playing softball. Dirt got into my eye, and then I probably scratched it trying to get it out; also not fun. I literally couldn’t open my eye for hours. A mirror won’t help if you scratch your eye, but it could help you remove debris.
8. Headlamp
Carrying a light source when there’s a decent chance you’ll be out after the sun goes down is smart. I don’t carry one if I know the trail and don’t plan to be out long, except in the mountains.
Even short hikes in the mountains could turn very ugly if an unexpected injury occurs. In the city, at a city park, I’m relatively confident help is around the corner, and I wouldn’t be too worried. In the mountains, you never know.
A small headlamp is easy to store and could come in handy.
9. Daypack/Running Pack
You’ll need something to carry all this stuff in. At the very least, I carry either a small fanny pack like a mountain biker would carry, or a lightweight running vest. It’s nice to have something that holds my water, phone, small first aid kit, and keys.
Like everything on this list, the kind of pack you need varies greatly by hike. One hour at a city park, 8 hours on the Continental Divide, or hiking the entire Pacific Crest Trail are all very different adventures, and each requires different gear. Or at least a different amount of gear.
10. Phone and Battery Pack
I considered leaving phone off this list, since it’s a given. But I have a few things to say about phones. First, don’t rely on your phone. If you’re heading on a trail, you need to know how to navigate the trail without your phone. Plan for no signal or internet, and prepare accordingly.
If you’re using your phone to access a map, make sure it is downloaded and accessible offline. Make sure the phone is fully charged, and carry a battery pack if you think you might need one.
My phone is almost always my camera, too. It’s just much easier than carrying a camera.
11. GPS Locator Beacon
On plenty of hiking trips, I feel zero need to carry a GPS device. But if I’m in the remote wilderness, I carry one. Especially if I’m alone or if I’m new to the area.
I’d like to find a better GPS company because the one I used for years isn’t my favorite. I’m not a fan of companies that require subscriptions and then make it nearly impossible to cancel that subscription. Dan Becker suggested onX Backcountry. I need to spend some time researching GPS devices and purchase a new one for my next adventure into the woods.
12. Map
If there’s any doubt whatsoever about navigating a trail, I’d carry an actual paper map. It came in handy the first time I hiked Pikes Peak. There was still snow on the ground, and I used the map to ensure I was still on the trail. If you hike often, have been in the mountains, or live where it snows, you know snow changes the landscape. Either way, bring a map in case you need one.
13. Camera or Binoculars
Okay, okay… I know what you’re thinking. 99% of people probably use their cell phone as a camera; that’s what I do. I even have a nice camera, but 99.9% of the time I use my phone. That said, a camera where you can adjust the settings can make a huge difference in the image, so if you need National Geographic photos, use an actual camera.
I added binoculars because they can come in handy if you’re looking for animals.
14. Emergency Blanket and Fire Starters
You never know when an emergency blanket might save your life. They’re small and lightweight, and an absolute must if you’re on a hiking trip where you might be out past dark.
When I think of emergency blankets, I think of the ultra runner, Danelle Ballengee, who fell and did sit-ups all night to prevent freezing to death.
A fire starter is a must, too. Yes, fire starter should have its own line. For now, I’m placing it under the first aid kit. Soon I’ll post a blog of the top 100 items to carry while hiking, and fire starter will have its own line and at the top of the list.
I heard about Blaze Fire Starters from Kyle’s Cabin. Kyle’s Cabin is one of my favorite YouTube channels, and I highly recommend it if you’re interested in building a cabin or living off-grid. A homemade method is cotton balls covered in Vaseline, which I believe I also heard about from Kyle’s channel.
There are many ways to start a fire in an emergency or at your campsite; I’d spend time testing a few different methods and build confidence before heading out into the backcountry.
WARNING: Before you start a fire in the woods, you must know what you’re doing, because we don’t want to start a forest fire. That is no bueno.
15. Hiking/Trekking Poles
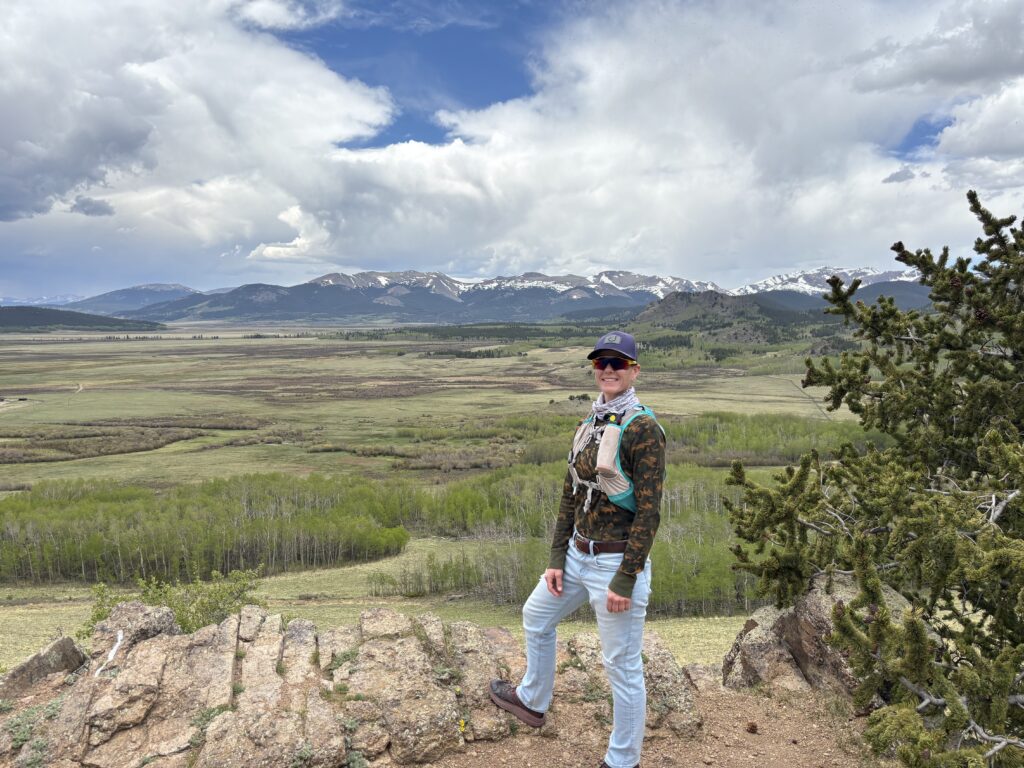
I’ve used hiking poles a few times, and they can be super helpful. Hiking poles save your knees going downhill and assist your quads going up. An ultra-running technique for hiking uphill without poles is to place your hands on your quads as you hike, which shifts some of the load to your arms. Just remember that hiking poles could become a weapon if you fall.
Did you hear about the hiker who recently impaled himself with a hiking pole? David Cifaldi was with two friends, and he’s a nurse. After he impaled himself, Cifaldi hiked down the mountain with a pole through his upper torso. Absolutely insane, but awesome too. Although this accident is a freak accident and incredibly rare, it’s worth mentioning so you know the risks and can be cautious when using anything with a sharp, pointed edge.
16. Knife and/or Multi-tool
I almost always have a knife on me, no matter what. When I’m doing anything outside, it’s always smart to carry a knife. A knife can be a weapon, a survival tool, or something you use to cut an avocado or other food. It’s just one of those items that’s nice to have, just in case. But whether you’re hiking in the woods or anywhere else, I highly recommend having some kind of knife.
17. Compass
I have a pretty good sense of direction, and it’s always come naturally to me, but even I carry a compass in the mountains. It’s easy to get disoriented in the dark or when exhausted. Hiking has plenty of risks and dangers, but getting lost is probably one of the easiest to prevent if you prepare even a little. With a good map and compass, you should be able to find your way.
People still get lost in the woods all the time. Going off trail is one reason people get lost, so if you leave the trail, mark it so you can find your way back. Trails and terrain look different in different seasons. Be prepared for the time of year you’re hiking and make sure you always know where you are and where you’re going. It’s a lot easier to get back on track if you’re 100 feet off the trail than 1 mile.
18. Wet Wipes in a Ziploc Baggie
I bring these on even most of my short hikes. Use them to clean your hands, or more importantly, as toilet paper. You really need two Ziploc baggies, one designated as the trash bag. Bring a small shovel to dig a cathole if you want to be a true outdoor steward and Leave No Trace.
19. Bug Spray
Depending on your location and the time of year, bug spray can be very beneficial. Keeping mosquitoes and ticks away makes your hikes and outdoor time more enjoyable. I’m a huge advocate for covering myself from head to toe when I’m spending a lot of time outside, and that helps keep bugs off your skin too. After a hike, change clothes and make sure you’re free of ticks or anything else.
20. Shelter, Tent, Sleeping Bag
An emergency blanket works for many occasions; however, if you’re in cold weather and there’s a decent chance you might need to sleep outside overnight, I’d carry more than an emergency blanket. Nowadays, sleeping bags are slim and lightweight. It’s worth considering. I’m sure all the hikers that’ve been stuck outside unexpectedly in the cold would’ve loved a sleeping bag.
21. Water Purification Straw or Tablets
I already mentioned water and electrolytes, but you might consider something to purify water.
Another personal story here. I learned the hard way not to drink stream water after I came down with Giardia during a Yosemite trip in 2017. Giardia gave me issues for years, and it wasn’t fun. I should’ve purified the stream water.
22. Medical Gloves
Medical gloves are great for cold weather. A pair of medical gloves under winter gloves or mittens makes a huge difference, especially in windy conditions. It’s the same idea as putting a plastic grocery bag or loaf-of-bread bag between your feet and shoes. Medical gloves and plastic bags on your feet act as a wind barrier, and every outdoor enthusiast knows how painful wind can be in the cold.
23. Tissue
Of course you don’t need tissue. Sure, you can use your shirt or buff, or just make do. But I will say that sometimes an annoying runny nose is just that, super annoying. So you might want to consider bringing tissues.
24. Lip Balm
SPF lip balm is sunscreen for your lips. Lip balm won’t save your life or keep you warm, but it’s nice to have sometimes. Exactly like tissue. We don’t need tissue, but dang, tissue sure does feel amazing when your nose is super runny and annoying.
25. Paracord
You can easily attach paracord to the outside of your bag and use it in many situations. Use it for shelter setup, gear repairs, a clothesline, a bear hang, a zipper pull, shoelace replacement, and more.
26. Gaiters
Depending on the terrain, gaiters can be a very handy piece of gear. I’ve used them in the snow a few times, but I used them all the time on long runs and races to keep dirt and rocks out of my shoes. Gaiters aren’t necessary in the summer, but they can make certain terrain more enjoyable.
27. Leave a Note and Tell A Friend Where You’re Going
Leaving a note on your vehicle is a smart idea and could save your life. It can also give criminals plenty of time to steal your vehicle. So you decide.
If you don’t want to leave a note on your vehicle, you could tell a friend or family member where you’re going and when you’ll be back, especially if you’re going by yourself or on a long/difficult trip. This has helped search teams locate and rescue injured or lost hikers quickly, and it can make a huge difference if someone is severely injured.
28. Duct and/or Leukotape P
Duct tape works in many situations, and Leukotape P is great for blisters. You can wrap both around a pencil for storage or a hiking pole. You never know when they might come in handy.
Once you try Leukotape P, you’ll understand why it’s so great. Although it’s sometimes too good and can take time to remove, it’s worth the effort in most cases.
29. Buff
I had to put the Buff on its own line. This is one of my favorite items for hiking and running. Buffs are so versatile. They protect you from the sun in the heat and keep you warm in the cold. They’ll become a tissue if you’re desperate, earmuffs, a hat, and more. Highly recommend.
30. Rest and Recover
Rest, hydrate, eat well, and recover after hikes so you can do it again the next day, or next weekend. Take care of yourself, your feet, and eat right, so you can get back out there on the trail soon.
Clean your gear, restock your first aid kit, and make sure your lights work properly (and do it again before your next trip).
Key Considerations For A Successful Hiking Trip
The key to a successful hike in the mountains, woods, or anywhere is preparation. Planning, preparing, and knowing the task at hand will help you avoid most dangerous situations.
You’re well on your way if you know where you are and where you’re going, and have enough food and electrolytes (or water). Be comfortable with possible animal encounters and know what you’ll do in each situation. Have a light source, a small first aid kit, and be physically capable of completing your hike attempt.
I’ve challenged myself mentally and physically numerous times during races as an athlete and pushed myself to the limit, but help was always nearby if I needed it. If you’re pushing your limits in the mountains or the middle of nowhere, definitely have a GPS and a way to call for help.
Alternatives to Carrying All These Items on a Hike
Longer and more remote hikes require more preparation and planning. If I’m on a paved walking path in the city, I may just take my phone, water, ID, and a debit card, even if I plan to be out for two, three, or four hours. I know there are stores nearby where I can get food and drinks if I need.
If I’m hiking a stretch of the Continental Divide, the Colorado Trail, or any true wilderness trail, I carry a lot more gear just in case, because the risk is greater in those remote areas.
You don’t need to carry all these items on every hike. This list is meant to get you thinking about what you might want to carry on your hikes. Maybe there’s an item on this list you hadn’t thought of, and now you’re aware of it.
My Experience With Wilderness Hiking
My experience hiking across the United States and Canada (only one trip to Banff so far) has been some of the best experiences of my life. Honestly, there’s nothing I’d rather do than hike in the mountains and wilderness, breathe fresh air, listen to birds chirp, and watch aspen trees wave their gold-looking leaves.
The rewards of being outside far outweigh the dangers. Yes, there are dangers. But we can mitigate them as much as possible by planning and preparing. Countless places in North America and around the world offer incredible sights; take advantage of them and get outside here and there. Just be prepared when you head out on the trail, so you can live to hike another day.